Automate Recurring Venmo Payments with Github Actions and IFTTT
Like so many tinkerers, I love to automate small parts of my life, while ignoring any actual work I should be doing. After stumbling on Joe’s Venmo automation , I immediately swept all the important things off my plate to have some fun. Now let’s set up automatic payments on Venmo in less than an hour — with email notifications for peace of mind!

Why not Nocode (Zapier, IFTTT, etc.) 🔗︎
You’ll need to know how to code a small amount for this guide. This setup is an alternative to the Zapier Venmo integration and IFTTT Venmo integration, which don’t seem to exist anymore (if they ever did). Venmo shut down their developer APIs and have had them in maintenance mode since 2016 , so unlikely for anything to change on that front. Normally I look to nocode tools first for projects, but unfortunately in this case, you’ll need to know how to run code online.
Ingredients 🔗︎
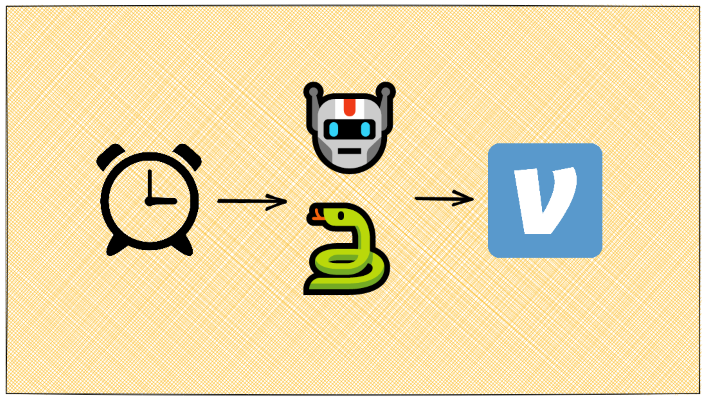
The 3 pieces you will need to set this up (in <1 hour):
- A scheduled trigger (GitHub actions, AWS Cloudwatch, etc.)
- A place to run a Python script + it’s dependency (GitHub actions, PythonAnywhere, Node.js with Autocode is in exploration)
- A free or cheap notification service (IFTTT, AWS SNS, etc.)
I use GitHub Actions + Python script + IFTTT for sending emails, but feel free to step off the beaten path if you have other ideas.
How to set up automatic payments on Venmo 🔗︎
Diving into the meat & potatoes you came for, how to actually get this dang thing running.
(Optional) 💌 Set up IFTTT notifications
ℹ️ If you don’t care about being notified, skip this step and remove the
notify()code in script.
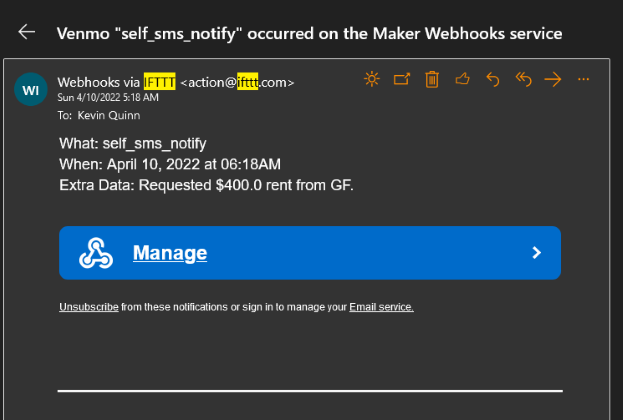
IFTTT allows a variety of target services , I originally used SMS, then converted to email since it’s not an urgent alert.
Sign up for IFTTT account (might require downloading of the app).
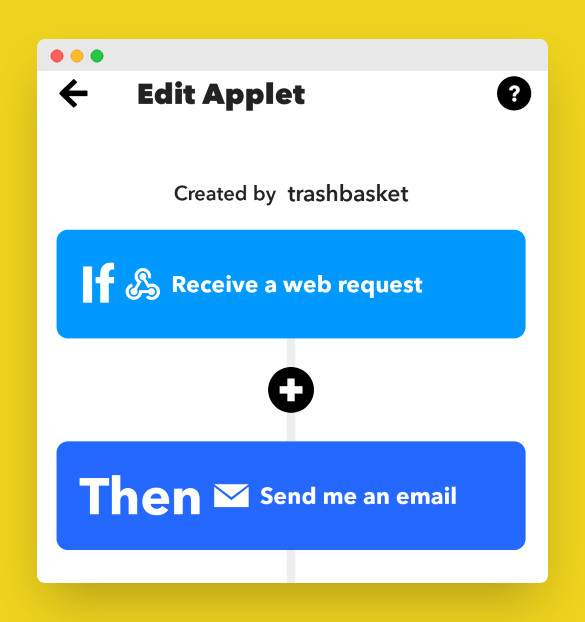
Configure the Webhooks service in IFTTT.
Then set up your chosen notification service. My example script sends metadata about the Venmo request sent in the
value1field IFTTT provides. If you use the same, you’ll have to make sure that is mapped correctly to your chosen notification service.
✅ Use cURL or your favorite web request tool to test your webhook and ensure notifications are sending correctly.
Save your webhook URL as a Secret so the workflow can access it. In the browser, go to
GitHub Repo -> Settings -> Secrets -> New Repository Secret.
🔐 Get Venmo access token
⚠️🚨 *This token has the same power with your Venmo account as you do, so be very careful with it! It will never expire unless you logout manually, as explained in the docs .
I plan to update this guide to use Payment Links (a deeplink into the Venmo app that doesn’t require account access) in the near future, but for now, you are forewarned.* ⚠️🚨
You’ll have to be comfortable working with Python dependencies to run these scripts locally.
- Install the Venmo client library
venmo-api. - Run this Python script to pull your access token. You may need to handle MFA.
- Save the token as the Secret
VENMO_ACCESS_TOKENby going toGitHub Repo -> Settings -> Secrets -> New Repository Secret.
- Install the Venmo client library
(Optional) 🗺 Map Venmo usernames to IDs
Then Venmo API requires payment requests to be tied to an ID, rather than the
@usernamewe humans use in the app. I did the mapping of usernames during setup and added them as environment secrets , but you can just as easily add 1 extra LOC to convert during regular runs.🐍 Modify the Python script
The script I use has a simple entry point, then defines a separate function for each Venmo request I want it to make, YMMV. You’ll need to make some small adjustments based on how many requests you need it to make & how you fetch Venmo user IDs. The most important bits can be boiled down to this
main.py:👨💻 Configure GitHub Secrets & Actions
ℹ️ Cron actions get disabled after 60 days of no activity on the repository - so either plan to push a commit every 50 days, or follow my approach and just wait until GitHub emails you.
✋ At this point you should have your
VENMO_ACCESS_TOKENsaved in Secrets, along with the optionalIFTTT_WEBHOOKorUSER_IDsvalues. if you didn’t, go back and do it.Now create your workflow definition at
.github/workflows/<workflow-name>.yml. This is where you will define your schedule incron. My example shows monthly Venmo requests.🏖️ Sit back and relax - with your automation in place, you’re now saving MINUTES each month! 🤣
But hey, we learned something neat and learned some new automation tricks. Time well spent.

🧪 Experiments & potential improvements 🔗︎
- Writing Node.js function on Autocode after switching to Payment Links.
See Also
- Make Your Own Venmo Wrapped
Not overwhelmed yet by all the Spotify Wrapped clones? Follow along to make your own Venmo Wrapped!
- How to Self-Host n8n on Fly.io
A simple guide to self-host n8n in just a few minutes on fly.io.
- How to Self-Host Actual Budget on Fly.io
A simple guide to self-host an Actual server in just a few minutes, for free.
- How to Self-Host NocoDB on Fly.io
A simple guide to self-host a NocodDB Airtable alternative in just a few minutes, for free.
- Creating Pages from Data Programmatically for Hugo
Ways to programmatically generate pages from data for Hugo. Automate your page creation.